STEP 01 · Upload
Start with a clear photo
Upload a photo with a clearly visible subject.
Upload a photoFollow the illustrated workflow from upload to review. The shown looks are examples, not guaranteed generations.
Upload a photo with a clearly visible subject.
Upload a photoPick a scene or describe the background you want.
Choose a directionSet the frame and resolution, then generate.
Set the frameCheck the subject edges, then download the result.
Start editingKeep a portrait or product as the visual anchor while you test new surroundings. Choose a scene or provide one Custom reference, then inspect the details before publishing.
Upload a clear portrait and choose a ready-made scene. You can explore an office look without isolating hair by hand or writing a prompt. Check the final edges and lighting before sharing.
Choose a portrait scene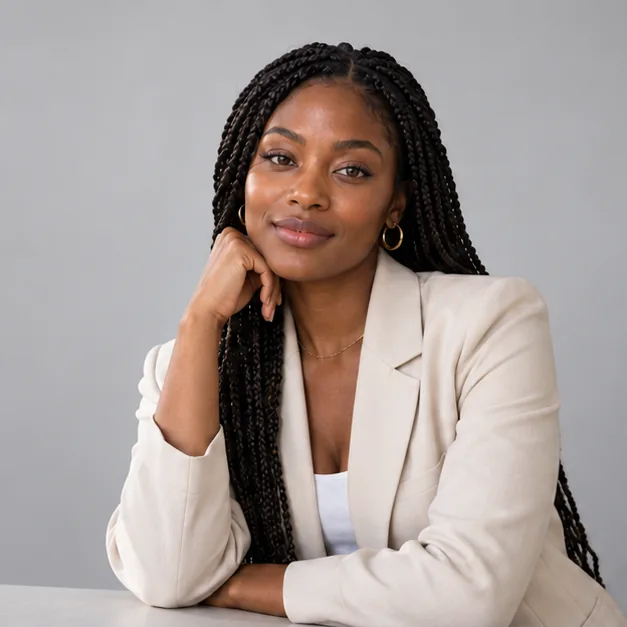
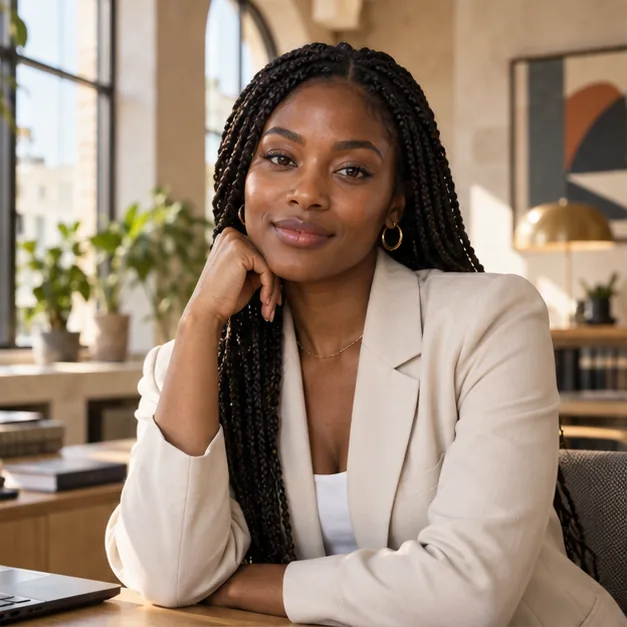
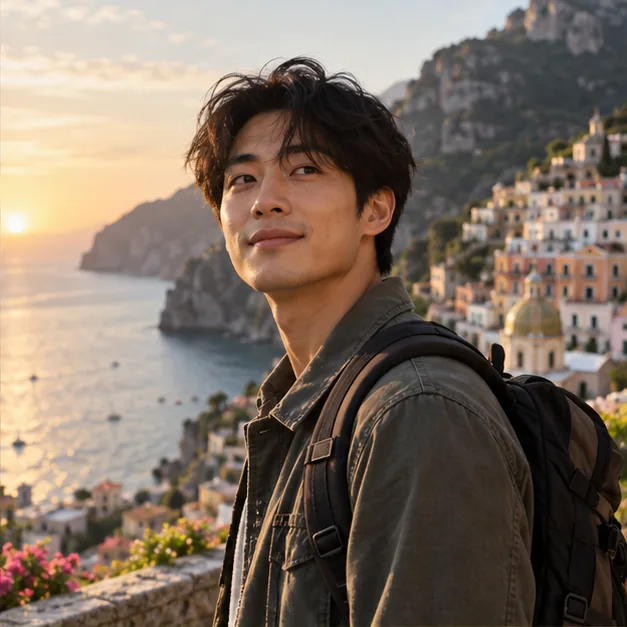
A travel-inspired setting can give the same kind of portrait a different mood. Use Custom to describe a place or add one scene reference, then review how the generated light fits your subject.
Describe a new scene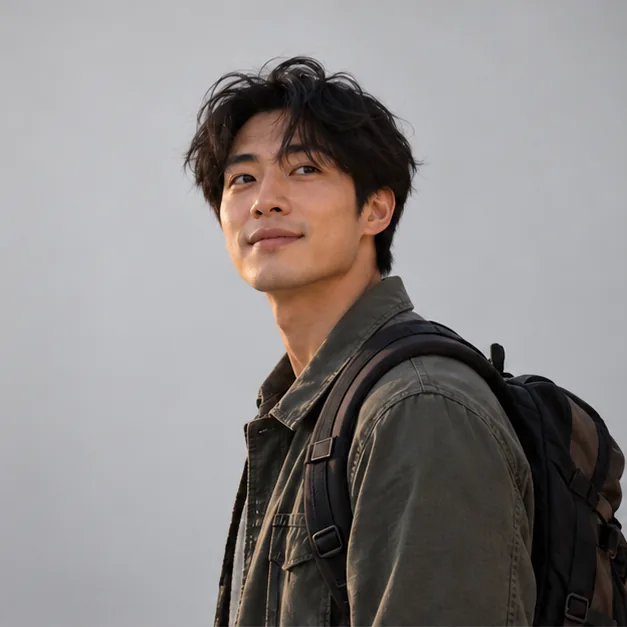
A simple stone or studio surface can help test a quieter product-page direction. Download a promising composition without an added ImagineScenes watermark, but verify the object's shape, label, and contact shadow before publishing.
Create and download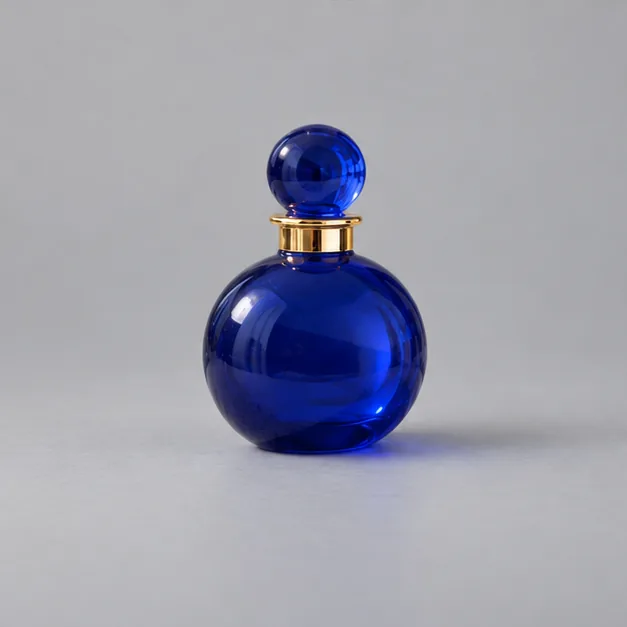
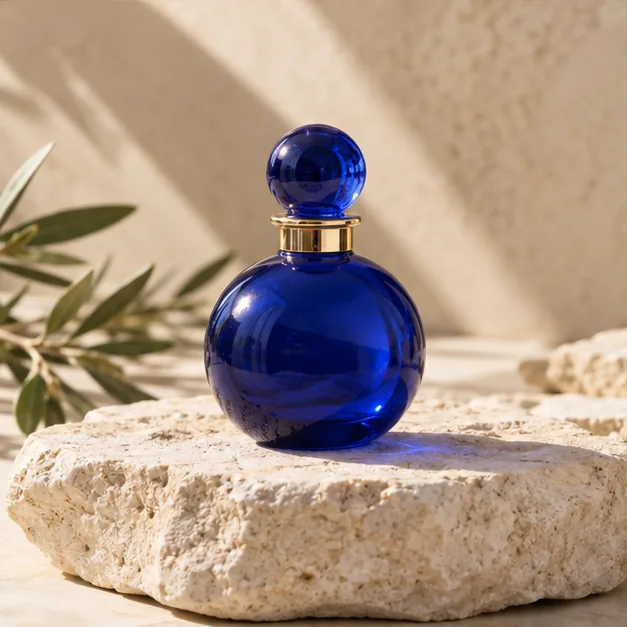
Place a product concept outdoors or in an everyday environment to see how the background changes its mood. Use the result as a creative direction rather than product evidence. New accounts have 40 credits for 30 days, and the cost appears before generation.
Try a product scene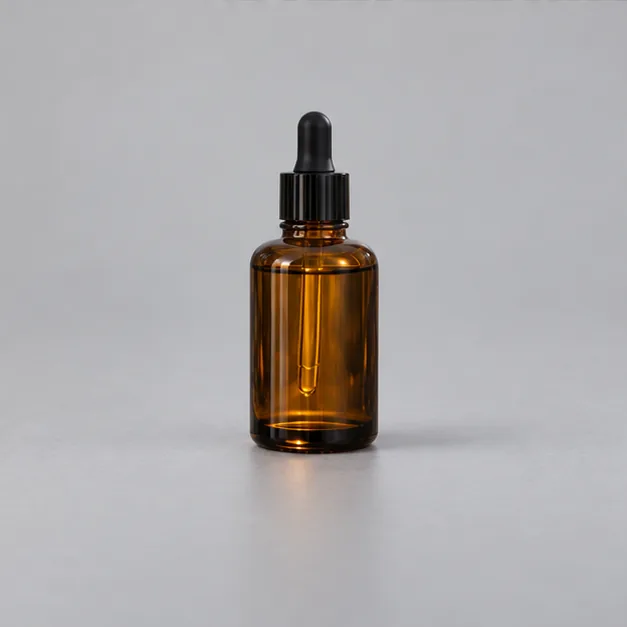
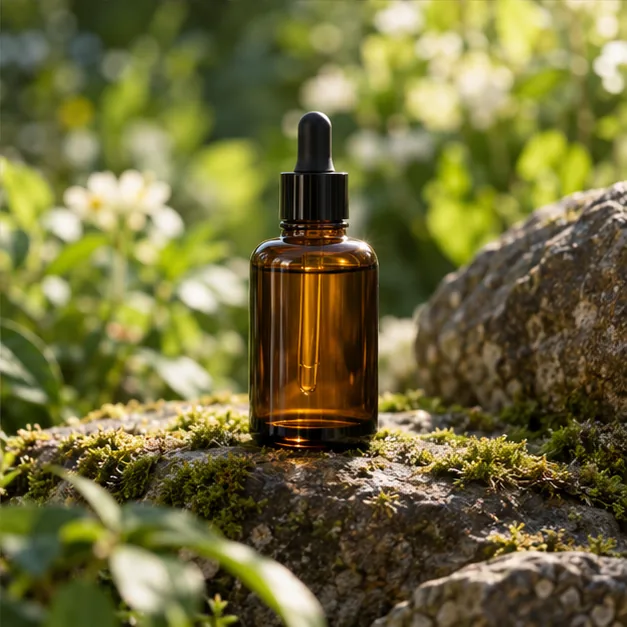
Upload one source photo, then choose Portrait or Product for six practical scene directions, or open Custom to write a background description or add one scene reference. Set the aspect ratio and resolution, check the credit cost on the Generate button, and submit. Review the single output before downloading it or reopening it in My Creations.
No. Each Portrait example shows one person across six settings, and each Product example shows one item across six settings so you can compare backgrounds clearly. Choosing a preset sends its written direction with your uploaded source photo; the example picture is only an illustration. To guide the edit with a particular scene image, switch to Custom, choose Use a scene photo, and upload that image separately.
Yes. Open Custom, select Use a scene photo, and add one JPEG, PNG, or WebP image. The second image guides the setting, colors, and mood, while the first image remains the main subject. The result may reinterpret the reference rather than copy its exact layout.
In Custom, the editor uses one direction at a time: a written prompt or one scene reference. Switching to a reference clears the prompt; switching back removes the reference. Choose the option that expresses your desired scene most clearly.
No. This tool replaces the visible background and generates a new photo. It does not make a transparent cutout or export an alpha mask. For a white product backdrop, describe a clean white studio scene instead.
Choose a sharp, well-lit photo with one clear subject and some room around its outline. Contrast between the subject and old background helps with hair, fur, thin straps, and product corners. Heavy blur, overlapping objects, and cropped edges give the model less detail to preserve.
Fine strands, transparent materials, and low-contrast edges are difficult to separate from the old scene. Try a clearer source photo with more separation, and ask the model to preserve the outline and small details. Inspect the generated image at full size; this editor does not include a manual edge brush.
Lighting direction, color temperature, reflections, or contact shadows may not match the new setting. Describe the surface and light in your prompt, such as a soft shadow under the product and warm light from the left. A scene closer to the source photo's camera angle and lighting often looks more natural.
The generation request asks the model to keep the main subject recognizable and change the background. It can still alter facial details, labels, packaging, texture, or shadows. Compare the output with the source and verify important details before publishing it.
Upload one JPEG, PNG, or WebP source photo and, in reference mode, one scene photo in a supported image format. Choose an aspect ratio and 1K, 2K, or 4K resolution. One submission requests one edited image.
Keep the source photo and open Custom to make the next direction more specific: name the setting, surface, camera perspective, lighting, and what must remain unchanged. You can also use one scene reference. Each generation is a separate request, so check its displayed credit cost before submitting again.
You can inspect the editor without signing in. Sign in to generate; the Generate button shows the credit cost for your selected settings before submission. Completed results can be downloaded and found again in My Creations.
Choose a source image, give the model one clear direction, and review the result before using it.
Upload a photo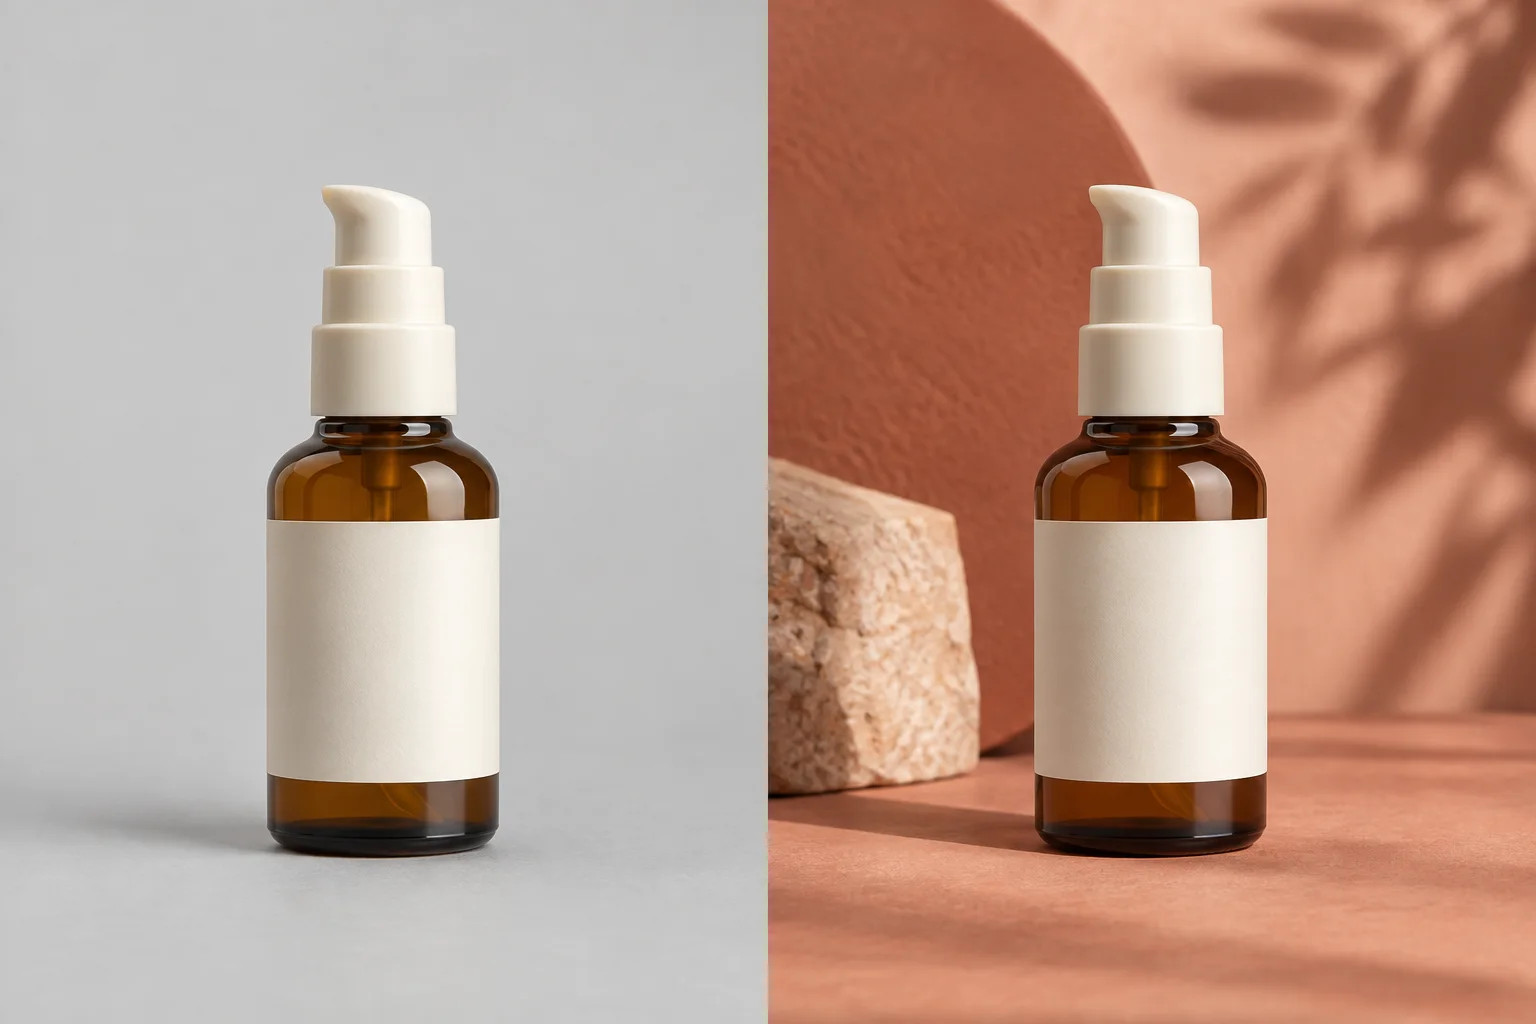
Select a secure payment provider to continue.
Create amazing AI-generated videos and images
Create a new account with Google or GitHub to claim them. Unused credits expire 30 days after signup.
By continuing, you agree to the Terms of Service and Privacy Policy.