 Imagine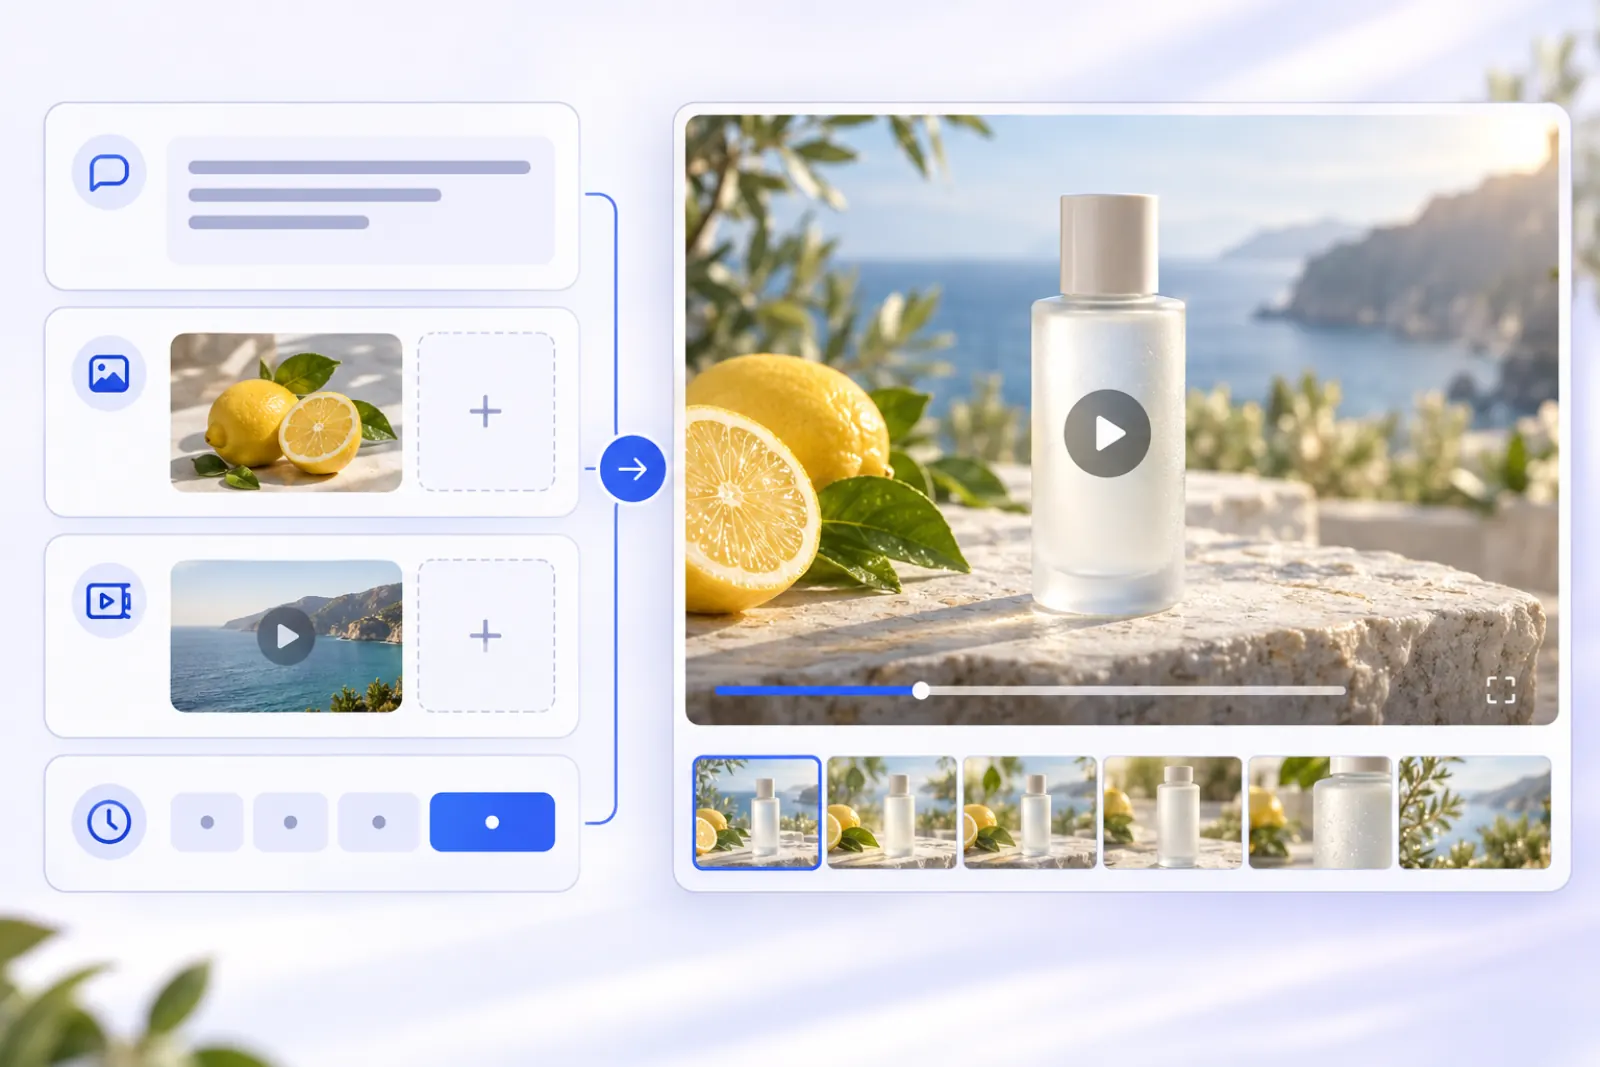
Try Seedance 2.5 with one clear video brief, then add image or video references only when each has a distinct role.
Start your Seedance 2.5 video brief
Choose Text to Video when you are beginning with a written scene, action, and camera direction. In the model picker, select Seedance 2.5, then start with one short shot rather than trying to describe a whole campaign in a single generation.
Seedance 2.5 is useful when the idea needs more room than a quick motion study: the editor offers 5, 10, 15, 20, 25, and 30-second output choices. Select the shortest duration that can show the action clearly, then extend the scene only after the first direction works.
Choose the workflow before adding references
Use Text to Video for a new scene from a brief. Switch to Image to Video when an approved still must remain the visual starting point. Use Video to Video when existing footage should supply the motion, timing, or camera rhythm. This choice matters because each workflow gives the uploaded media a different role.
In Text to Video, an optional image can anchor an appearance or product detail, while an optional video can guide a motion idea when the selected model accepts it. Do not add either input just because a slot is available. Give each reference one job you can check in the result.
- Prompt: location, subject, one action, and one camera direction.
- Image reference: the silhouette, material, palette, or appearance that should stay recognizable.
- Video reference: a specific rhythm, gesture, timing, or camera movement.
Name every uploaded reference in the prompt
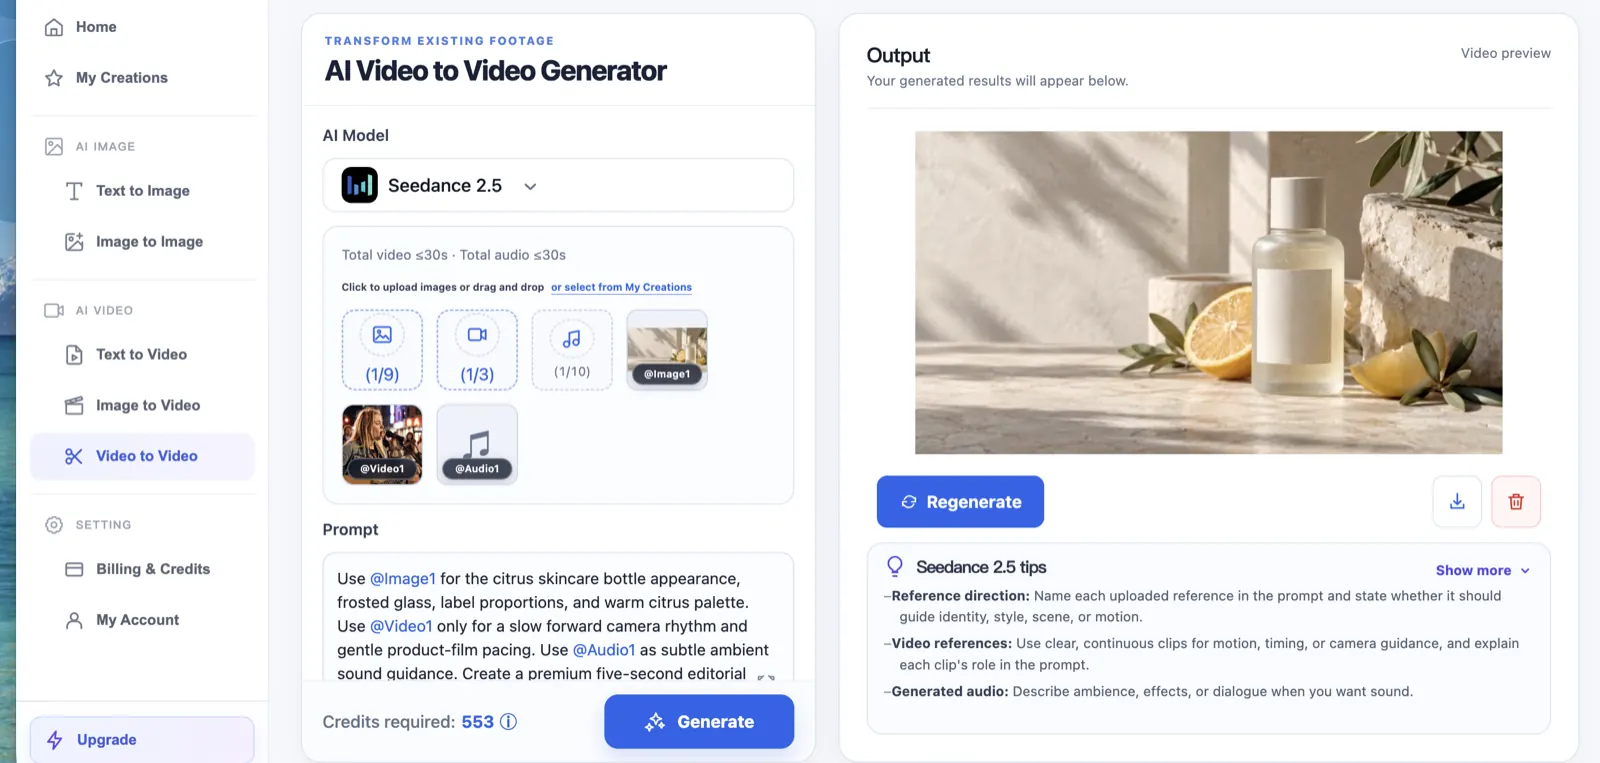
After upload, references are numbered separately by type and in upload order. Write @image1, @video1, or @audio1 directly in the prompt to connect a sentence to that specific item. Capitalisation does not matter in the editor: it accepts @image1 and sends Seedance 2.5 its corresponding @Image1 tag. Use the tag shown on the uploaded item if you want to avoid mismatching an index.
Do not use a tag for a file that has not been uploaded. The editor validates the number before generation, so @image2 requires two image references, and @video1 requires at least one video reference. Seedance 2.5 accepts up to nine image references, three video references, and ten audio references. Reference audio must be MP3 or WAV, at least two seconds per file, no more than 15 MB per file, and no more than 30 seconds in total.
- @image1: identify the appearance, product, material, setting, or palette to preserve.
- @video1: identify the movement, timing, performance, or camera rhythm to borrow as creative guidance rather than a frame-perfect copy.
- @audio1: identify the uploaded audio direction; name its role instead of assuming that every sound should define the scene.
Set the first pass up for review
Choose the aspect ratio for the destination before generating: a wide frame for a website or landscape edit, or a vertical frame for a social cut. Seedance 2.5 exposes adaptive and common landscape, portrait, square, and wide ratios, along with 480P and 720P output options. The editor shows the compatible controls and credit estimate after you choose the model.
For the first pass, use a five- or ten-second duration and one visible action. A slow push-in, a fabric movement, or light changing across a surface gives you a useful result to judge. Several unrelated movements make it harder to tell whether the prompt or the reference caused a drift.
Write one direction with clear responsibilities
Name what must remain recognizable, then describe the movement and camera behaviour. Place a tag beside the responsibility it owns instead of asking the same input to define the product, location, action, and edit all at once. The examples below assume the files were uploaded in the stated order.
EXAMPLE DIRECTIONUse @image1 for the frosted glass bottle, pale green liquid, and clean label area. Use @video1 only for a slow forward camera rhythm. Use @audio1 as the sound direction for a quiet outdoor morning atmosphere. Place the bottle on pale stone beside sliced citrus in early-morning light. Condensation forms and moves slowly on the glass while leaves shift in a light breeze. Keep the bottle centered, leave the right third clear for a headline, and do not add other products.
Use the smallest reference set that answers the brief
For a product video with a fixed packshot, upload the packshot first and write: “Use @image1 for the product shape, material, and label area. Slow push-in, soft morning light, no new products.” This is enough when the movement comes from the written direction.
For a motion-led remake, upload the appearance image first and the motion clip second, then write: “Use @image1 for the subject’s appearance. Use @video1 for the walking rhythm and camera path. Put the subject in a rain-lit market and keep the jacket unchanged.” The image and video now have separate, testable jobs.
For an audio-led scene, upload the image first and the audio file second, then write: “Use @image1 for the product and @audio1 for the sound direction. Make a ten-second close shot with a restrained camera move; preserve the product shape and leave room for copy.” Only add @video1 if a reference clip supplies movement you cannot describe clearly.
Review the first and last seconds before extending it
Watch the whole clip, not only the strongest frame. Check that the product shape, label area, light direction, and main subject remain understandable near the end. Generated packaging, logos, and fine text still need review before they are used in a final asset.
If the product changes, simplify the action or strengthen the preservation instruction. If the motion is wrong, change only the video reference or the motion sentence. Keep the working result as the reference point for the next pass, then change one variable at a time instead of starting over with a longer prompt.