 Imagine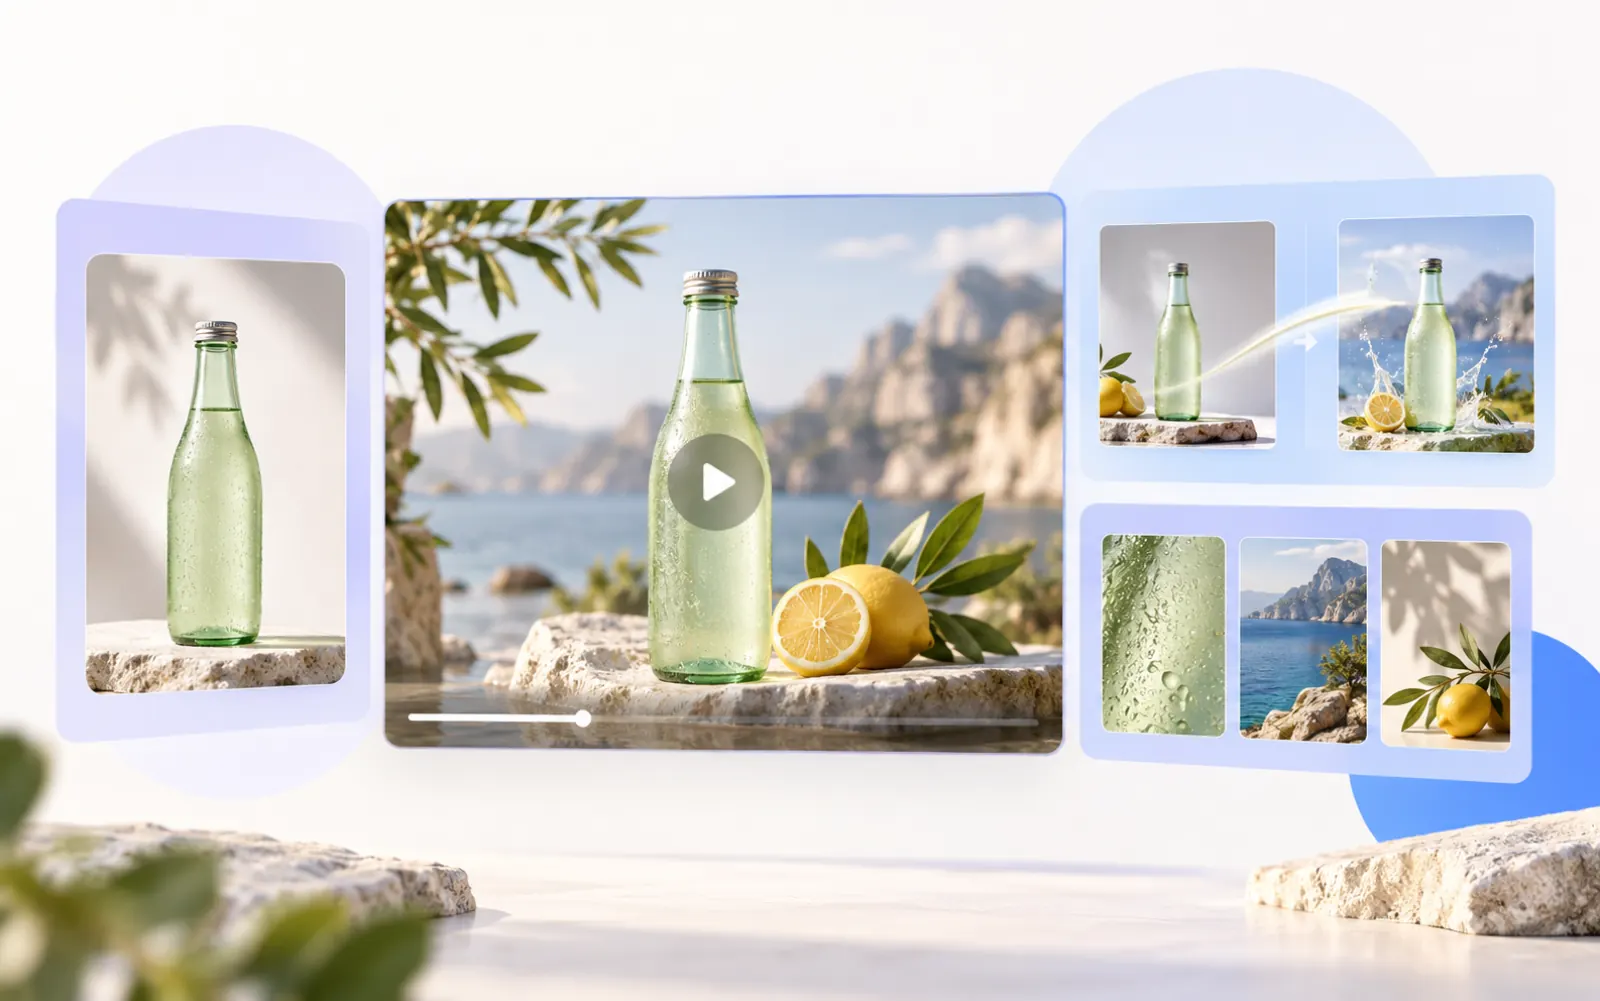
Choose Start Frame, start-to-end frames, or Reference Images in our AI image to video editor. See the workflow, compatible models, prompts, and review steps.
Choose the image role before you upload
Most failed image-to-video passes begin with an unclear job for the upload. A customer may need an approved packshot to stay recognisable, a campaign shot to finish in a specified layout, or a person to keep the same face and clothing across a new setting. These are different constraints, so the editor has three image roles.
Choose the mode in the Image to Video editor before you upload. Start Frame makes one image the opening composition. Start & End Frame makes two images the endpoints and filters the model picker to compatible models. Reference Images accepts several images, then gives them @image tags so each one can guide a specific detail without being a literal first or last frame.
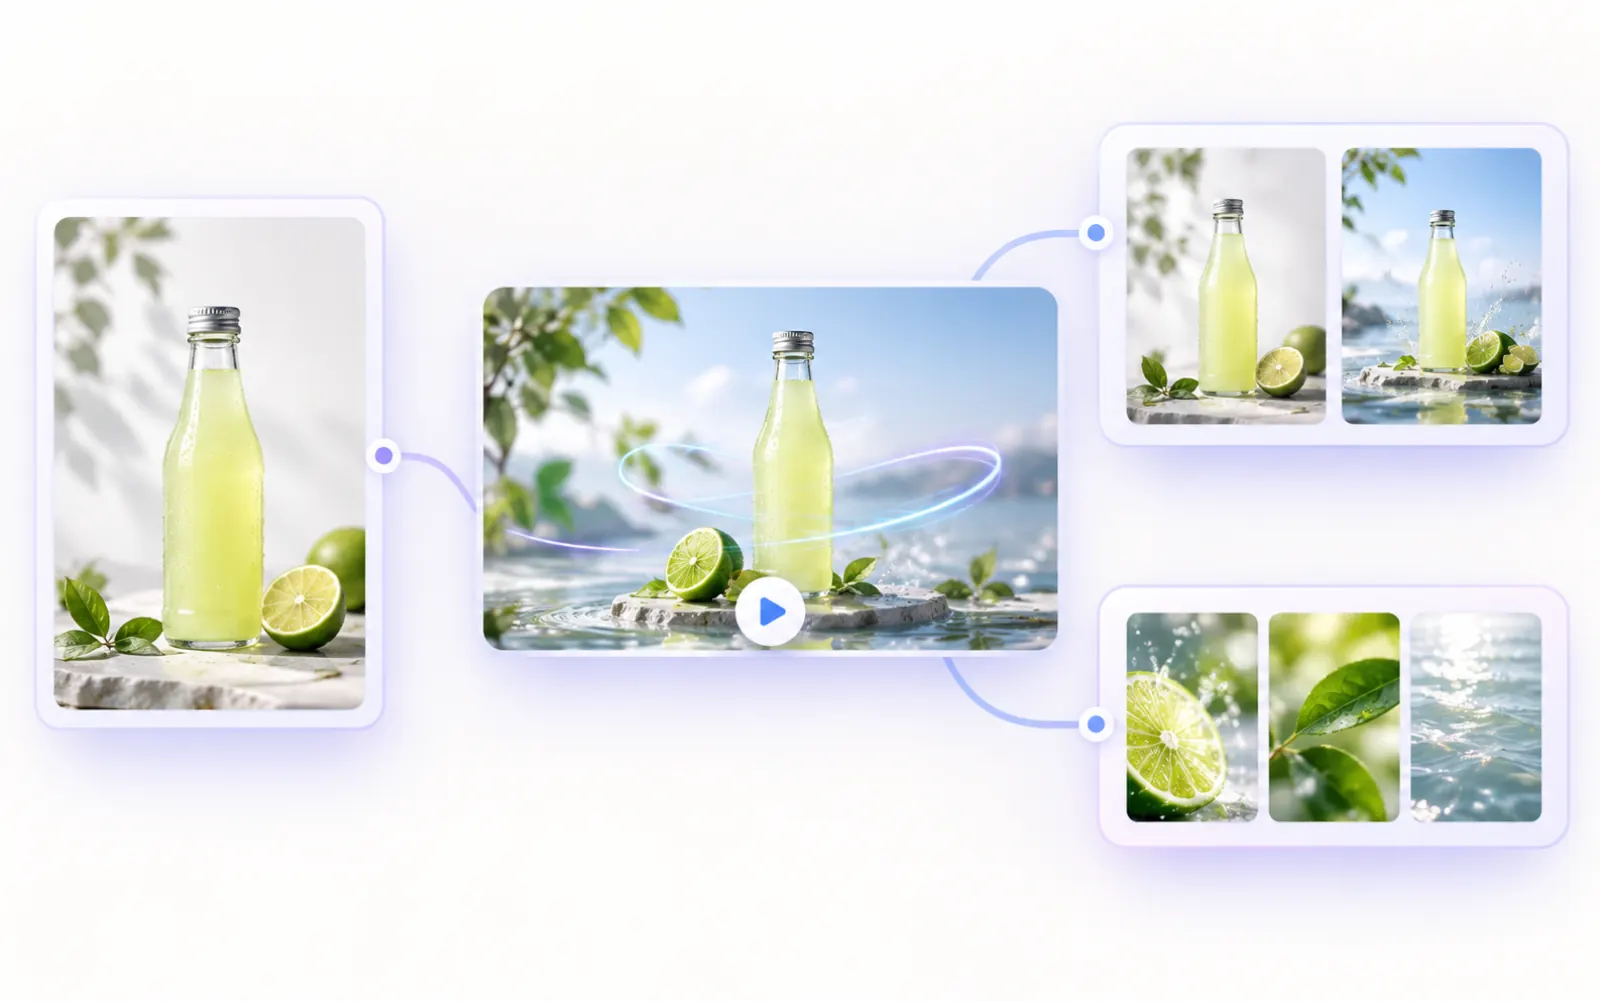
What the Start & End Frame editor actually shows
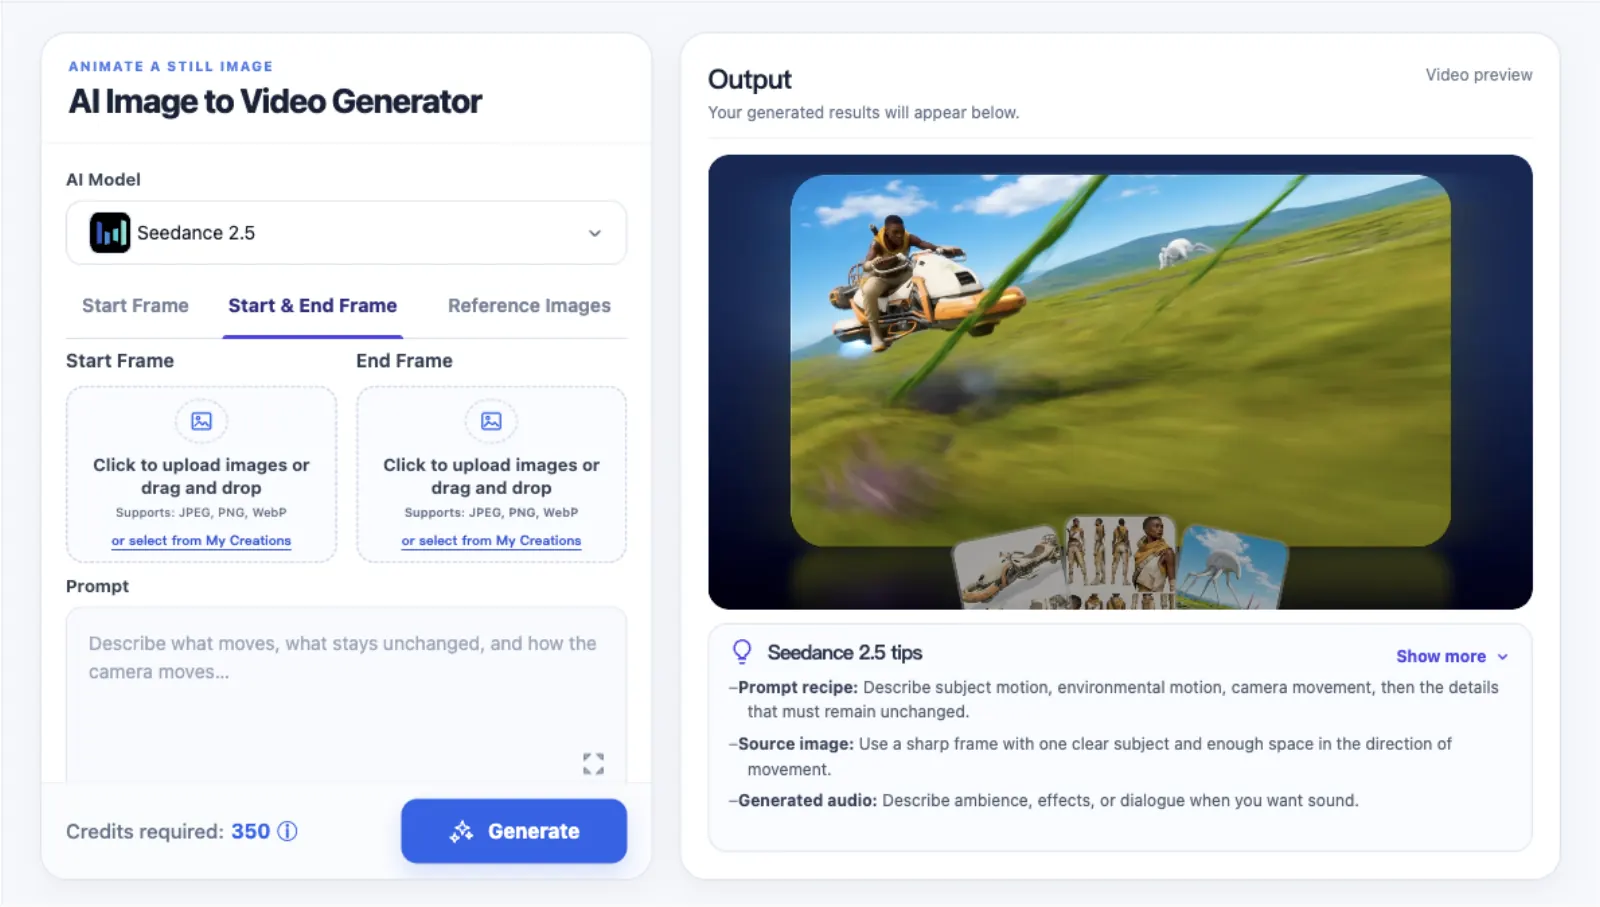
After selecting Start & End Frame, the real editor shows separate Start Frame and End Frame slots beside the prompt, selected model, credit estimate, and output preview. The selected tab is part of the same generation form: it is not a separate landing-page choice.
The example below shows the editor before uploads begin. The model picker is Seedance 2.5 because the selected workflow needs first-and-last-frame support; available models and controls always follow the mode and model you have selected.
Start Frame: animate one approved still
Use Start Frame when a customer has already approved the first shot: a product packshot, a hero image, a portrait, or a still from a campaign. The practical risk is that the product changes shape, the subject drifts, or the camera starts somewhere the design team never approved. Upload the approved still into Start Frame, then describe only the movement after that first moment.
In the editor, choose a model and review its shown duration, resolution, and credit estimate before generating. Give the prompt one subject motion, one environmental motion, and one camera move. State the silhouette, material, placement, or empty area that the result must retain.
EXAMPLE DIRECTIONStart from the uploaded bottle image. Condensation gathers and moves slowly on the glass while the camera makes a controlled forward push. Preserve the bottle shape, pale green liquid, label area, and stone surface. Keep the bottle centred; do not introduce new products.

Start & End Frame: guide where the clip finishes
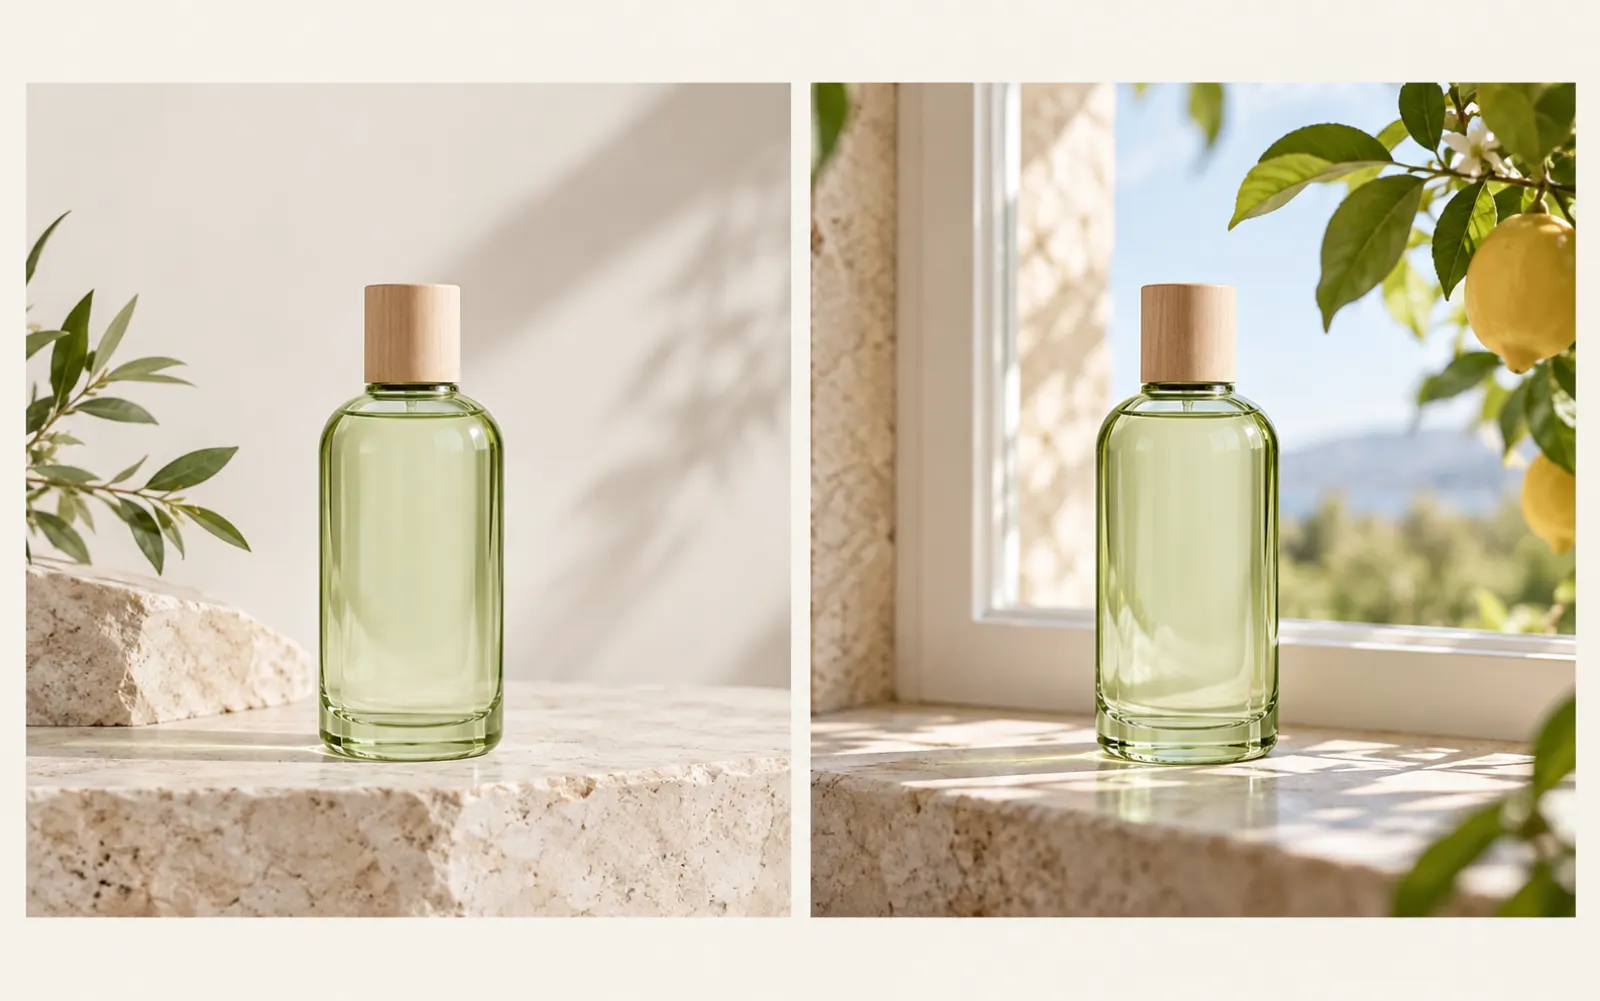
Use Start & End Frame when the customer needs a controlled finish as well as an approved opening: a product reveal ending beside a window, a transition that must land on a campaign composition, or a final shot with protected space for copy. This avoids reviewing a promising middle of a clip only to find that the last frame cannot be used.
Select Start & End Frame first. The editor exposes Start Frame and End Frame uploads and keeps only models that support first-and-last-frame control. The pair supplies the endpoints; the prompt must still explain the motion between them, including what moves, its pace, and the camera path.
EXAMPLE DIRECTIONBegin with the product on pale stone in morning light and finish with the product framed against the open window. Move through a slow rightward camera slide as citrus leaves shift in a light breeze. Preserve the bottle silhouette and clear label area throughout the shot.
Reference Images: separate the things that need guidance
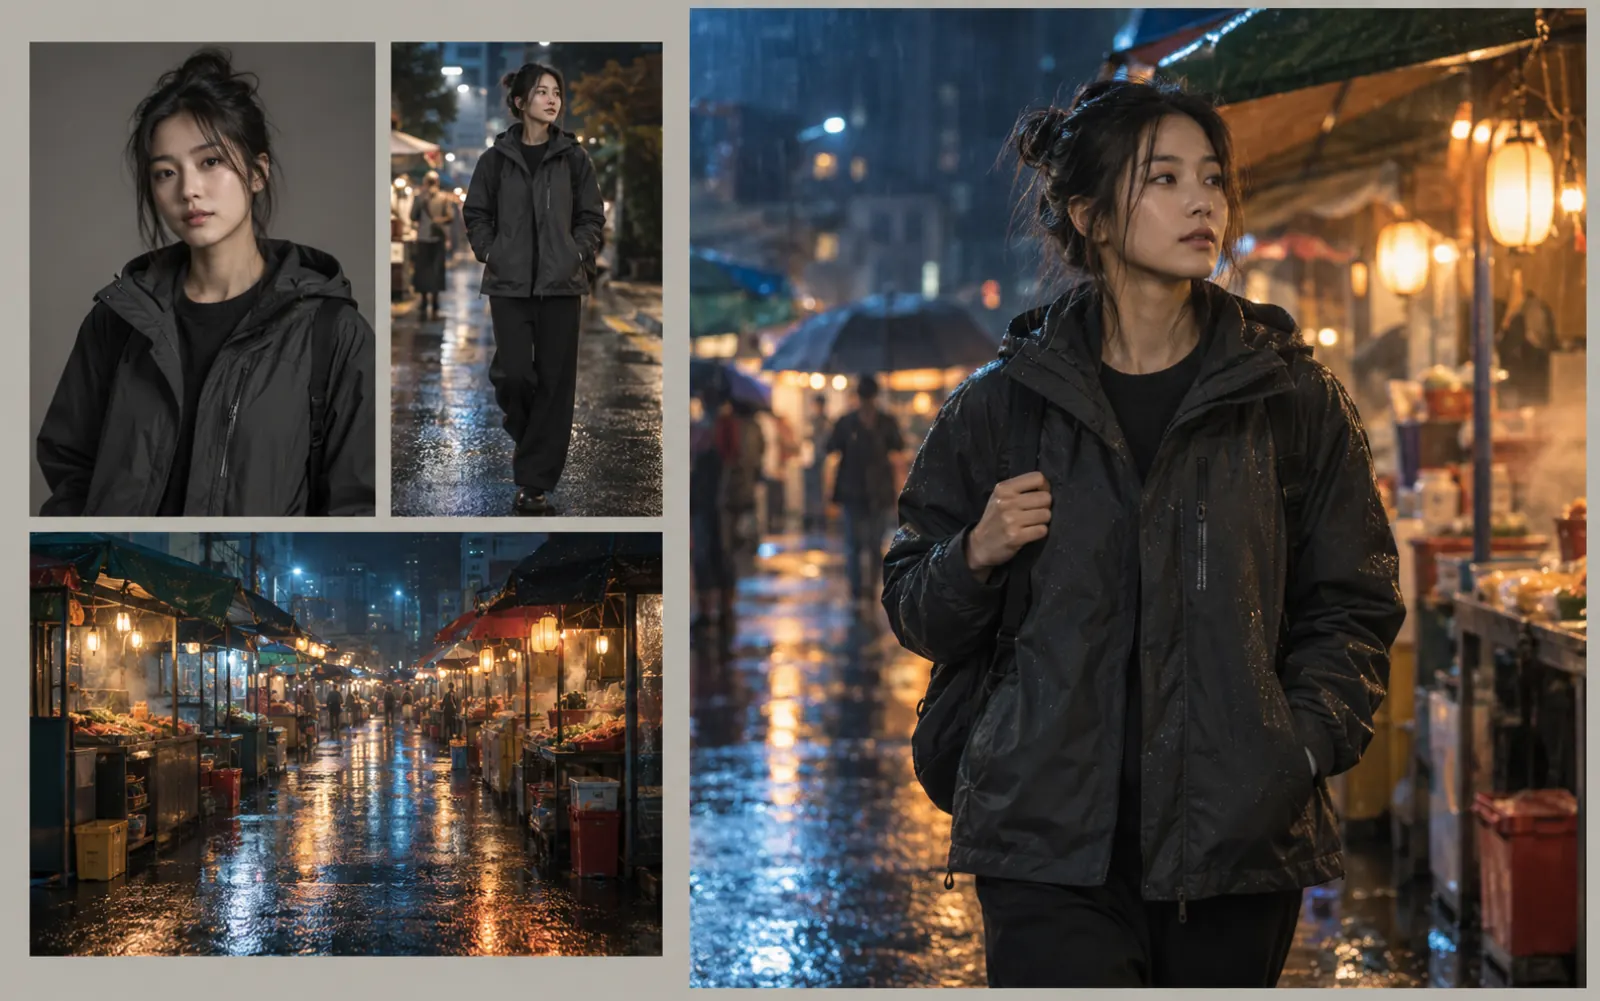
Use Reference Images when a client needs consistency without fixing a literal opening or closing still. A common case is a person who must keep the same face, hairstyle, jacket, and silhouette while moving into a new location. Another is a product that must retain its material while the setting and palette change.
Choose Reference Images in the editor, upload only the files that answer separate parts of the brief, and use the @image tags shown after upload. For example, assign @image1 to the person and wardrobe, @image2 to a full-body silhouette, and @image3 to the market environment. This gives the model distinct guidance and gives the reviewer a concrete way to identify which reference caused a drift.
EXAMPLE DIRECTIONUse @image1 for the jacket, hairstyle, and silhouette. Use @image2 for the rain-lit market palette and wet pavement reflections. The character walks at a calm pace through the market while the camera tracks beside them. Keep the jacket unchanged and use a medium shot.
Review the right detail for the mode
For Start Frame, check whether the opening composition, product shape, or person remains recognisable once motion starts. For Start & End Frame, check both endpoints before judging the middle transition. For Reference Images, check identity, wardrobe, material, and setting separately against the role assigned to each upload.
When a pass misses its target, change one input role or one prompt instruction at a time. The model picker, its compatible controls, and its credit estimate are live editor state, so use what the selected model actually shows rather than assuming every option works for every mode.